HOW TO...
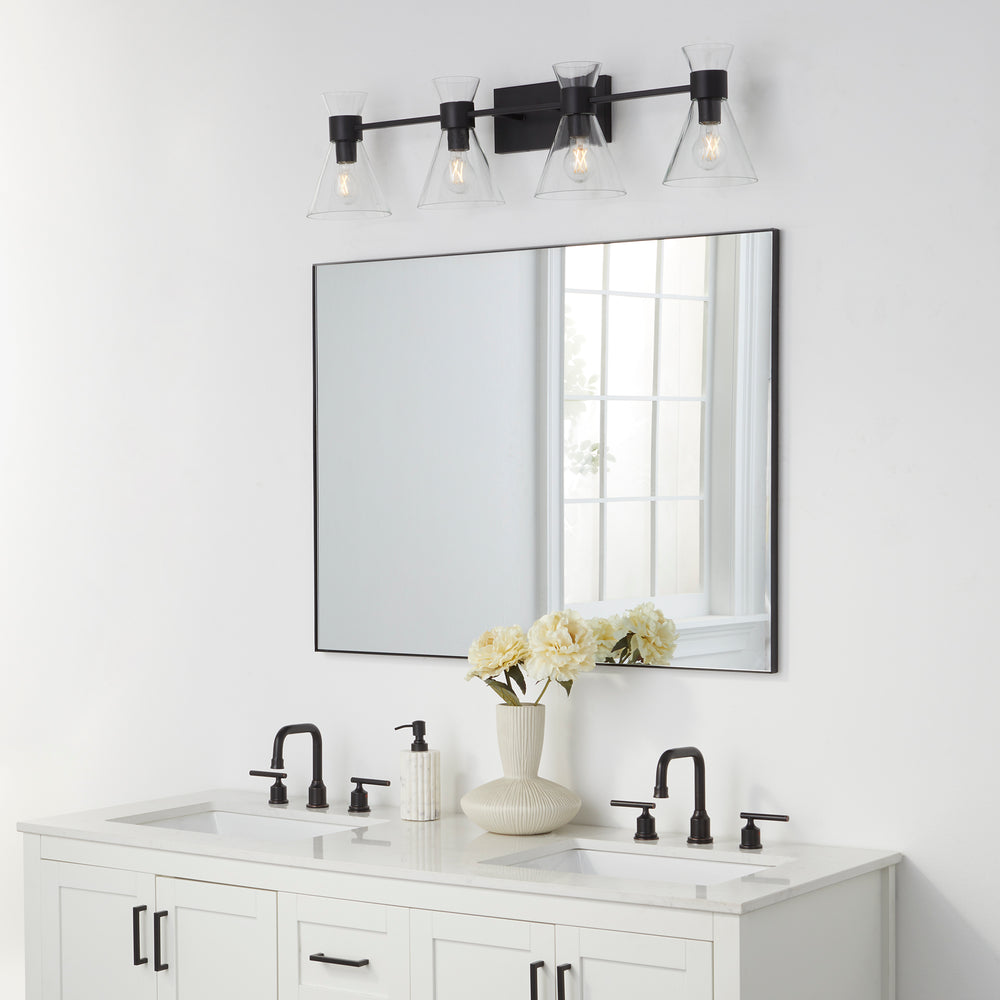
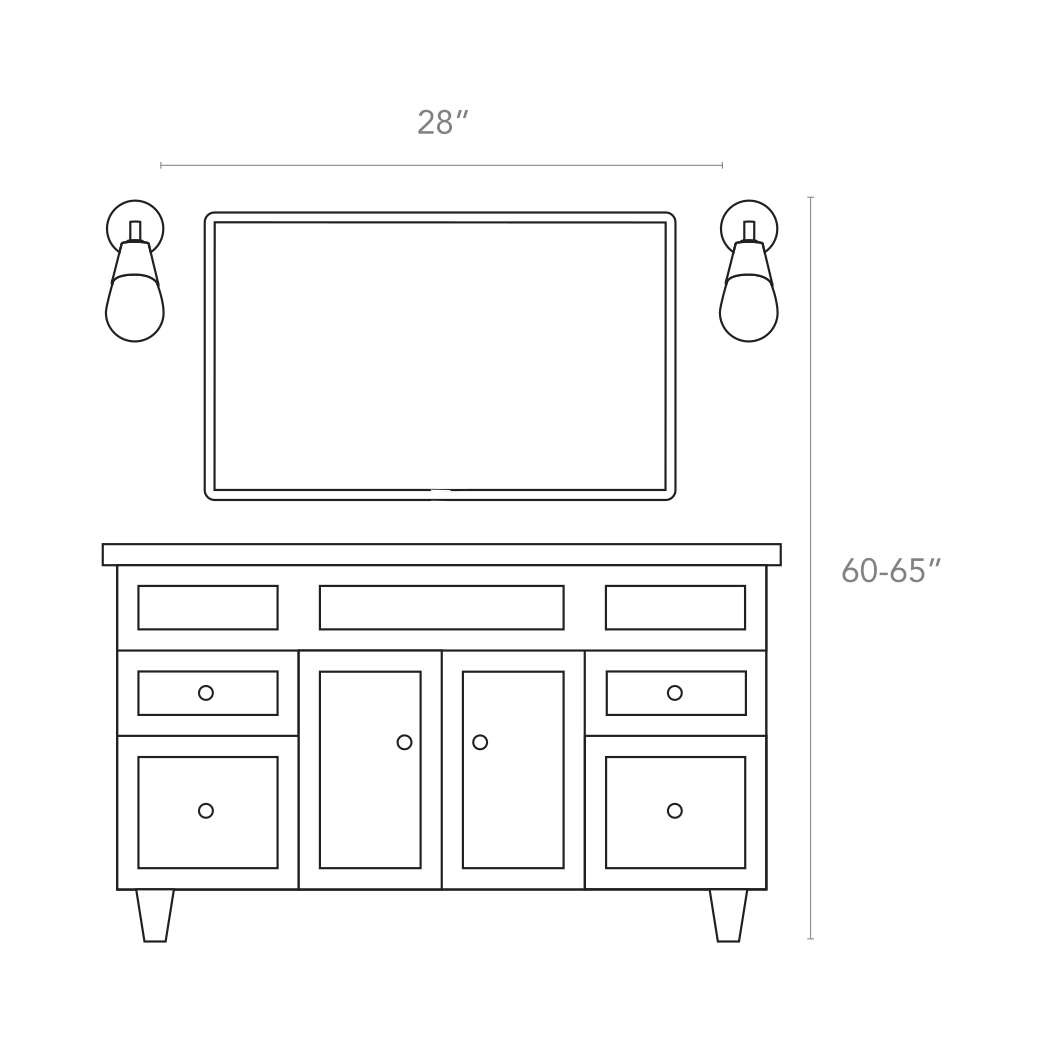
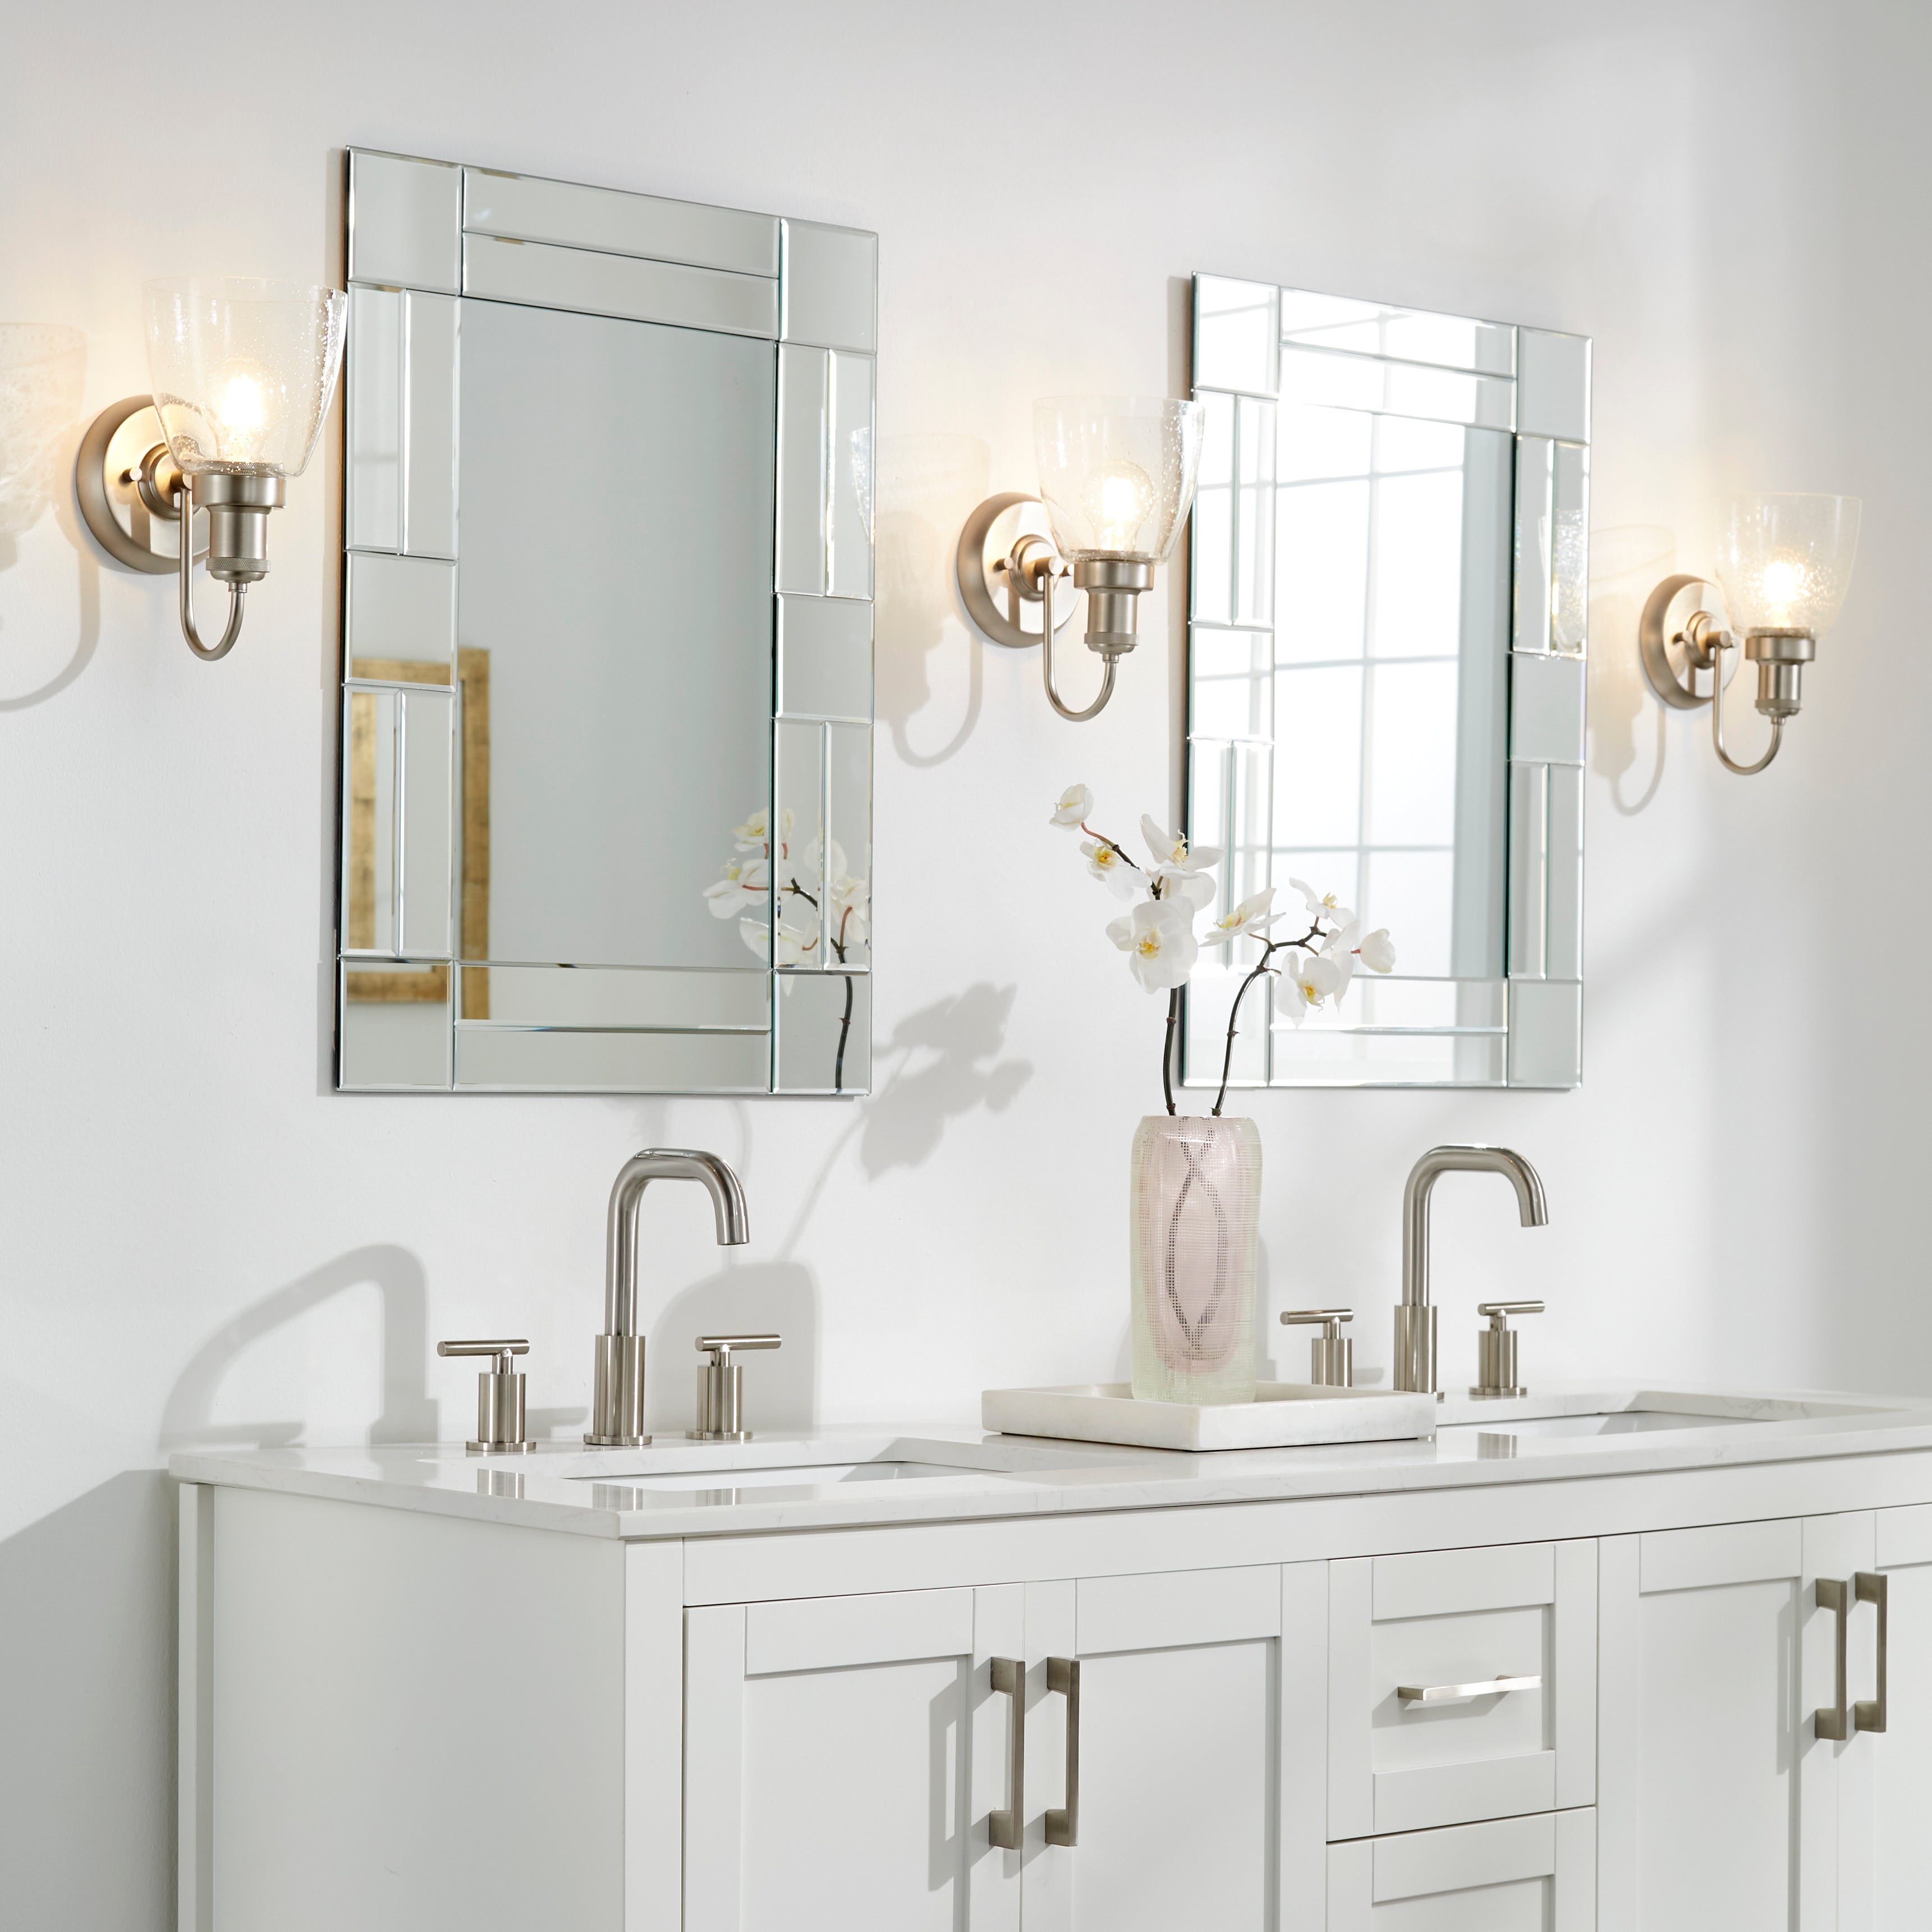
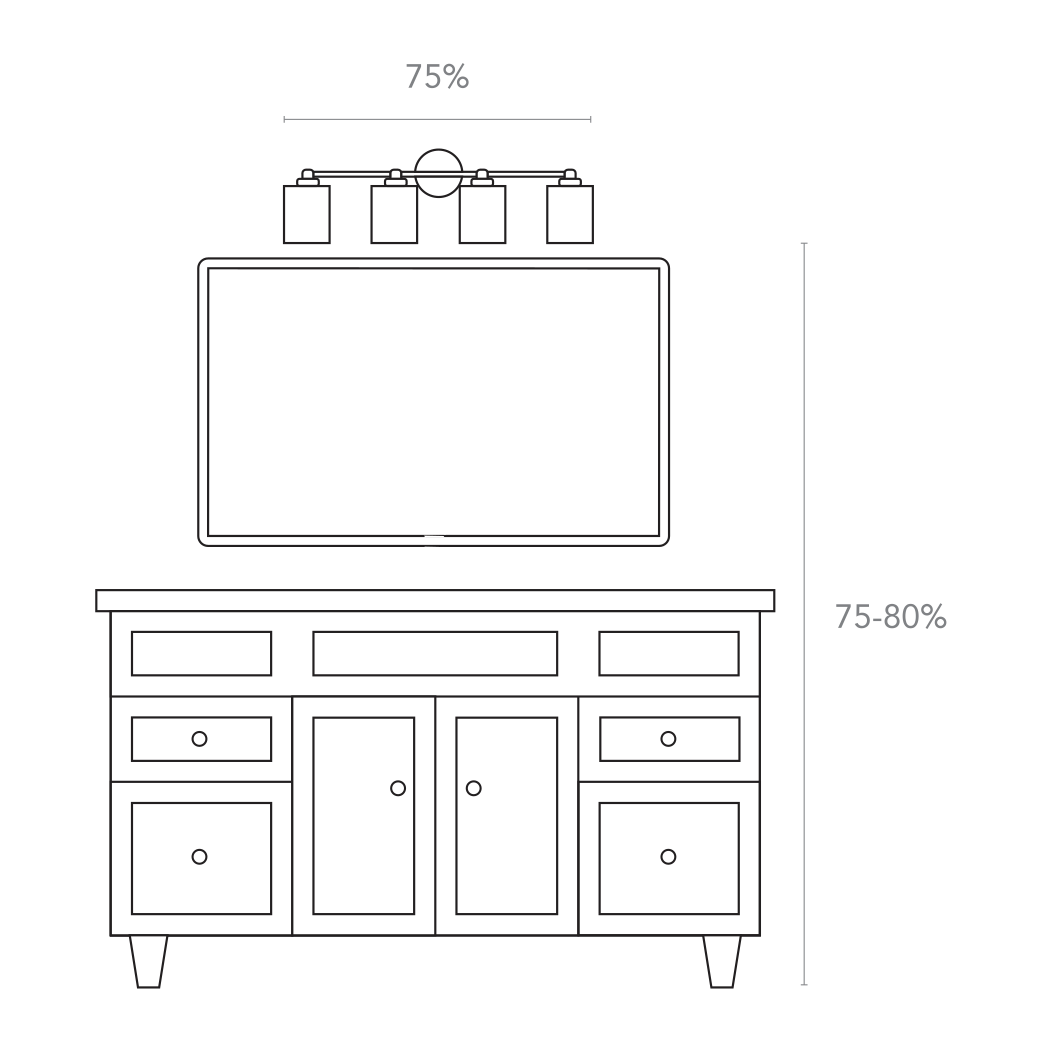
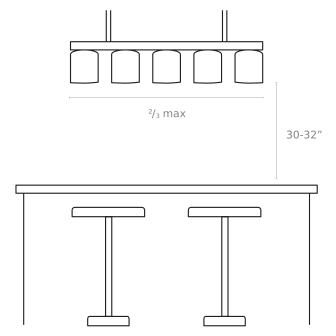
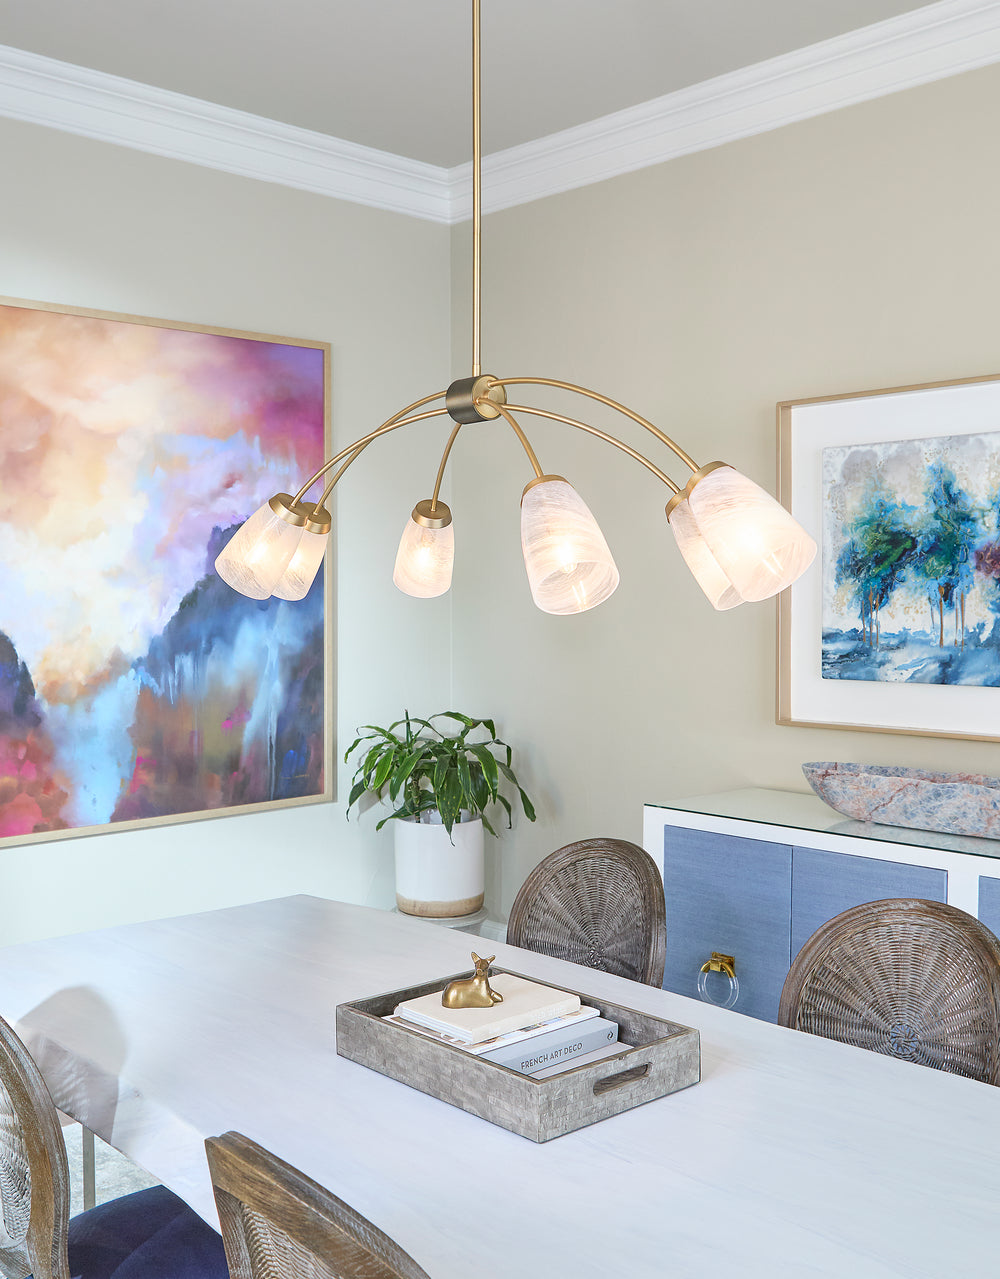
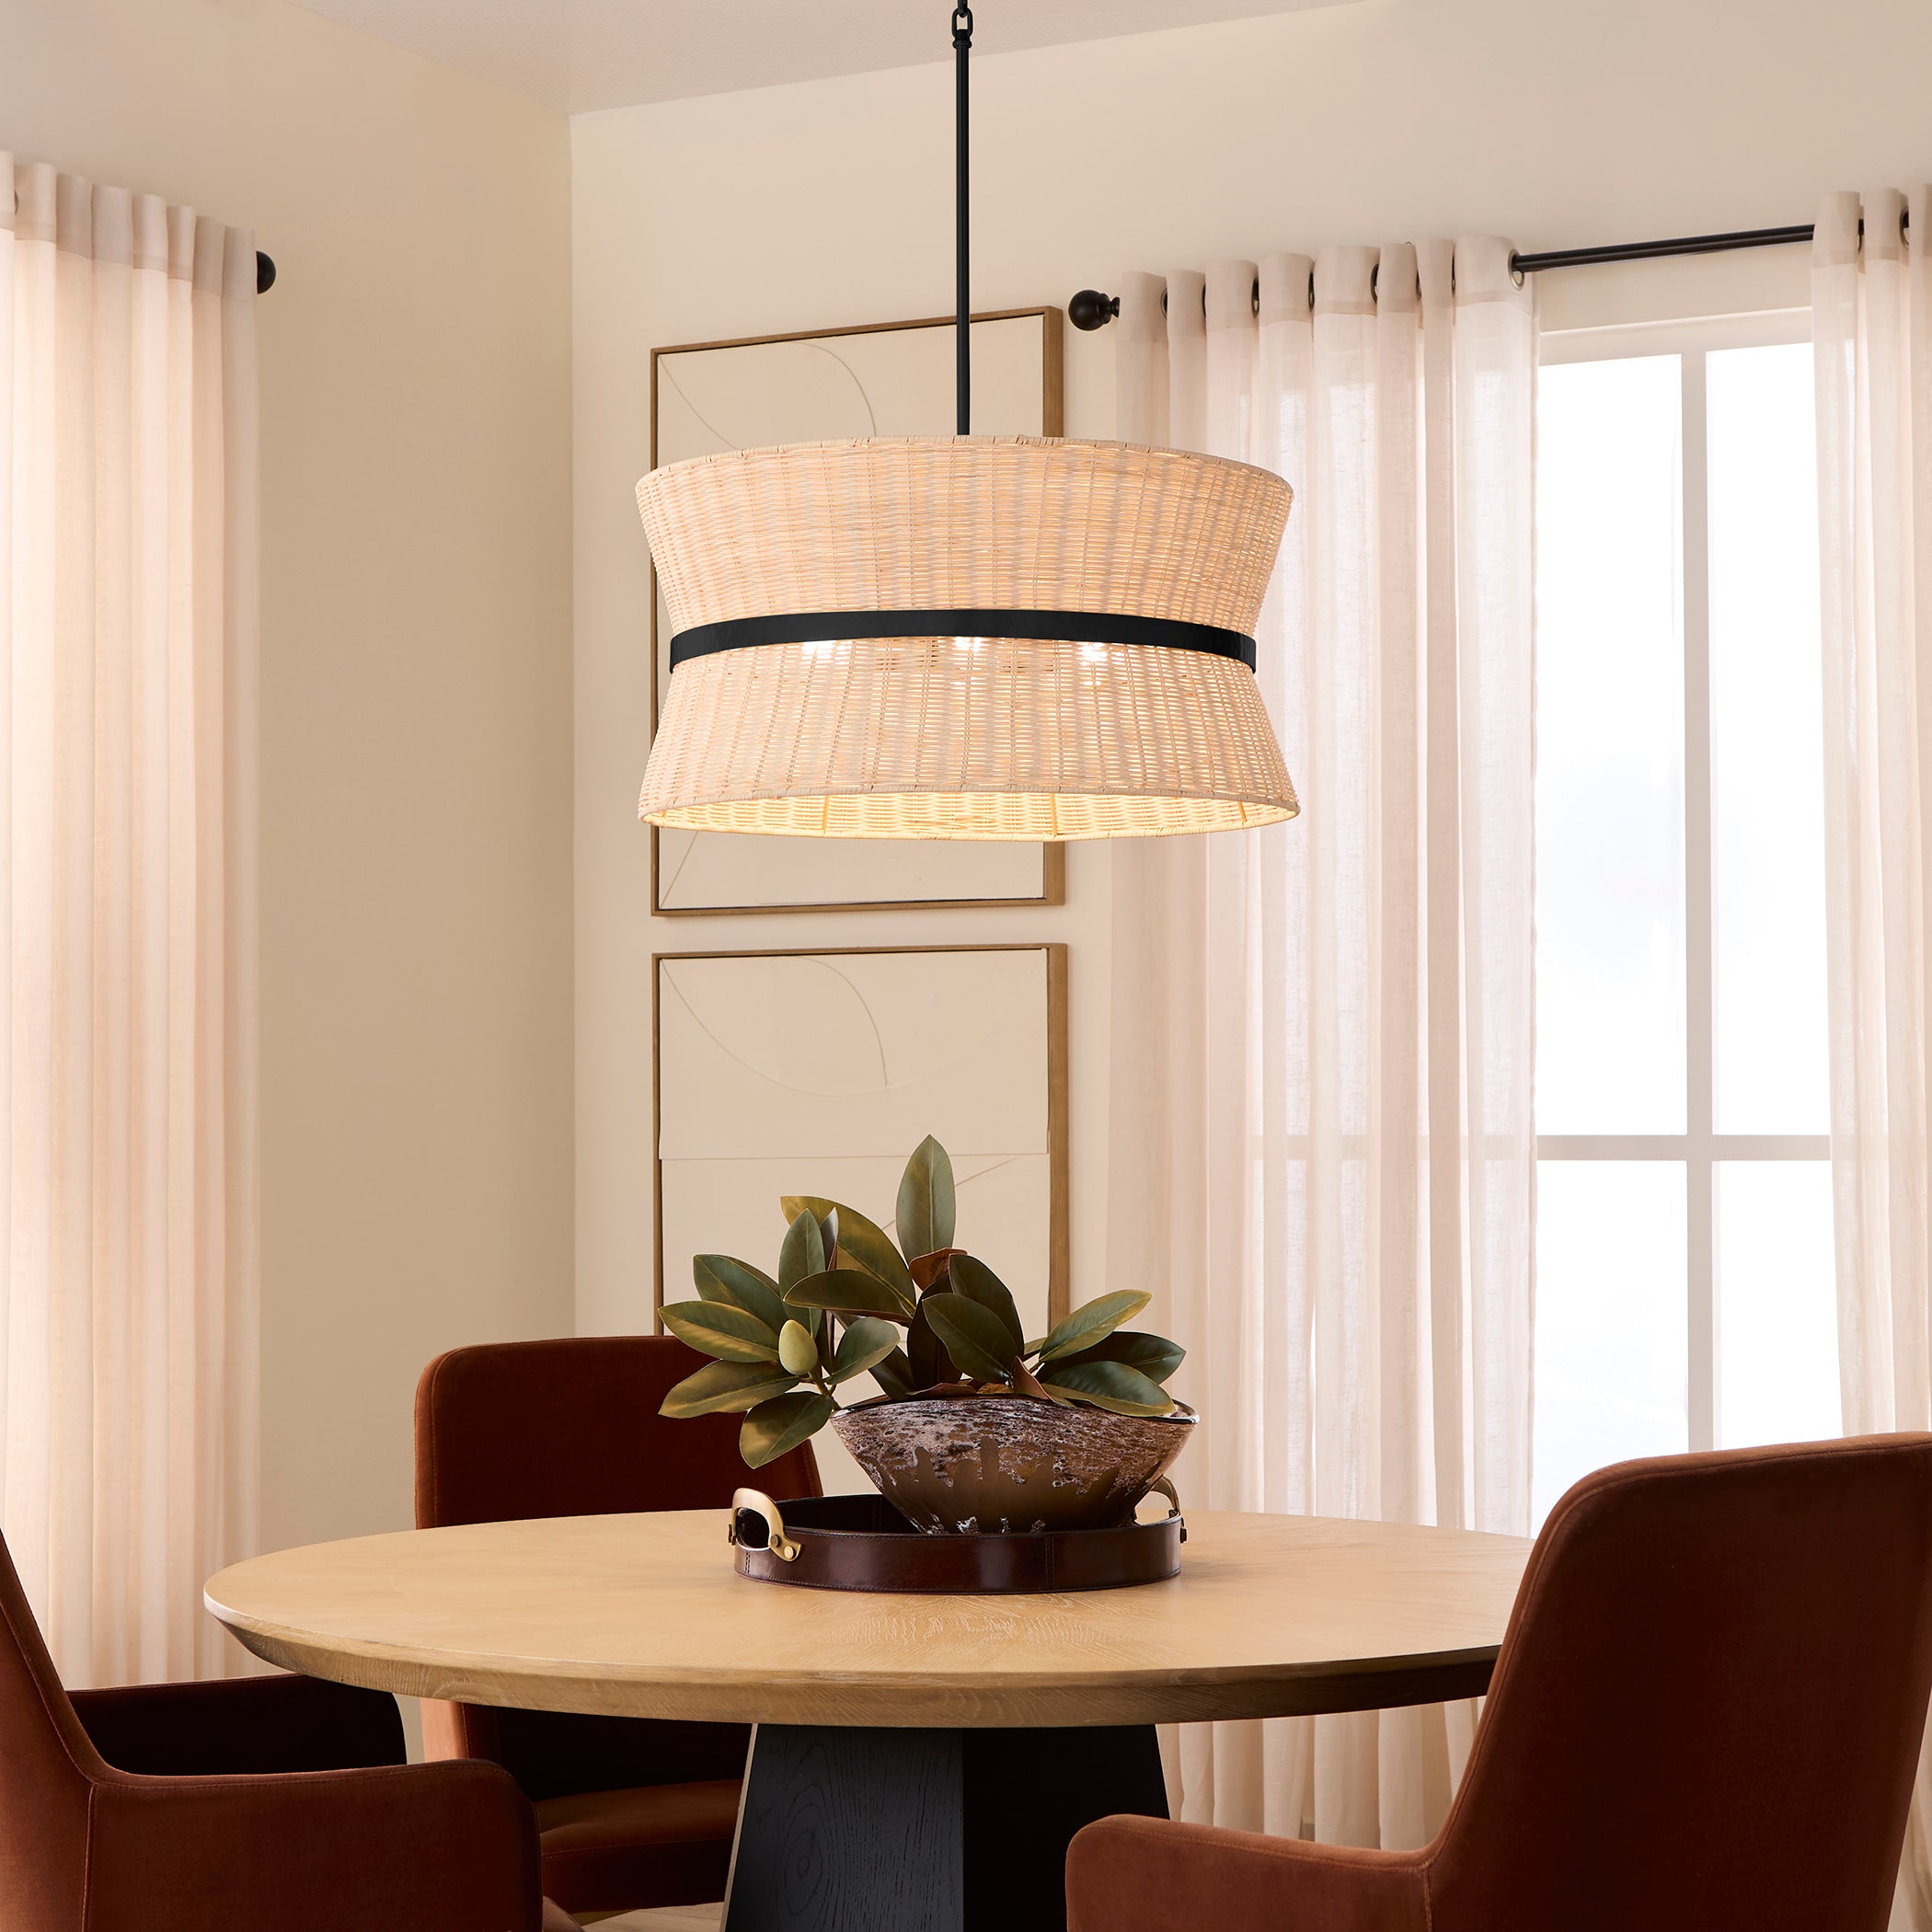
LIGHTING
LIGHTING
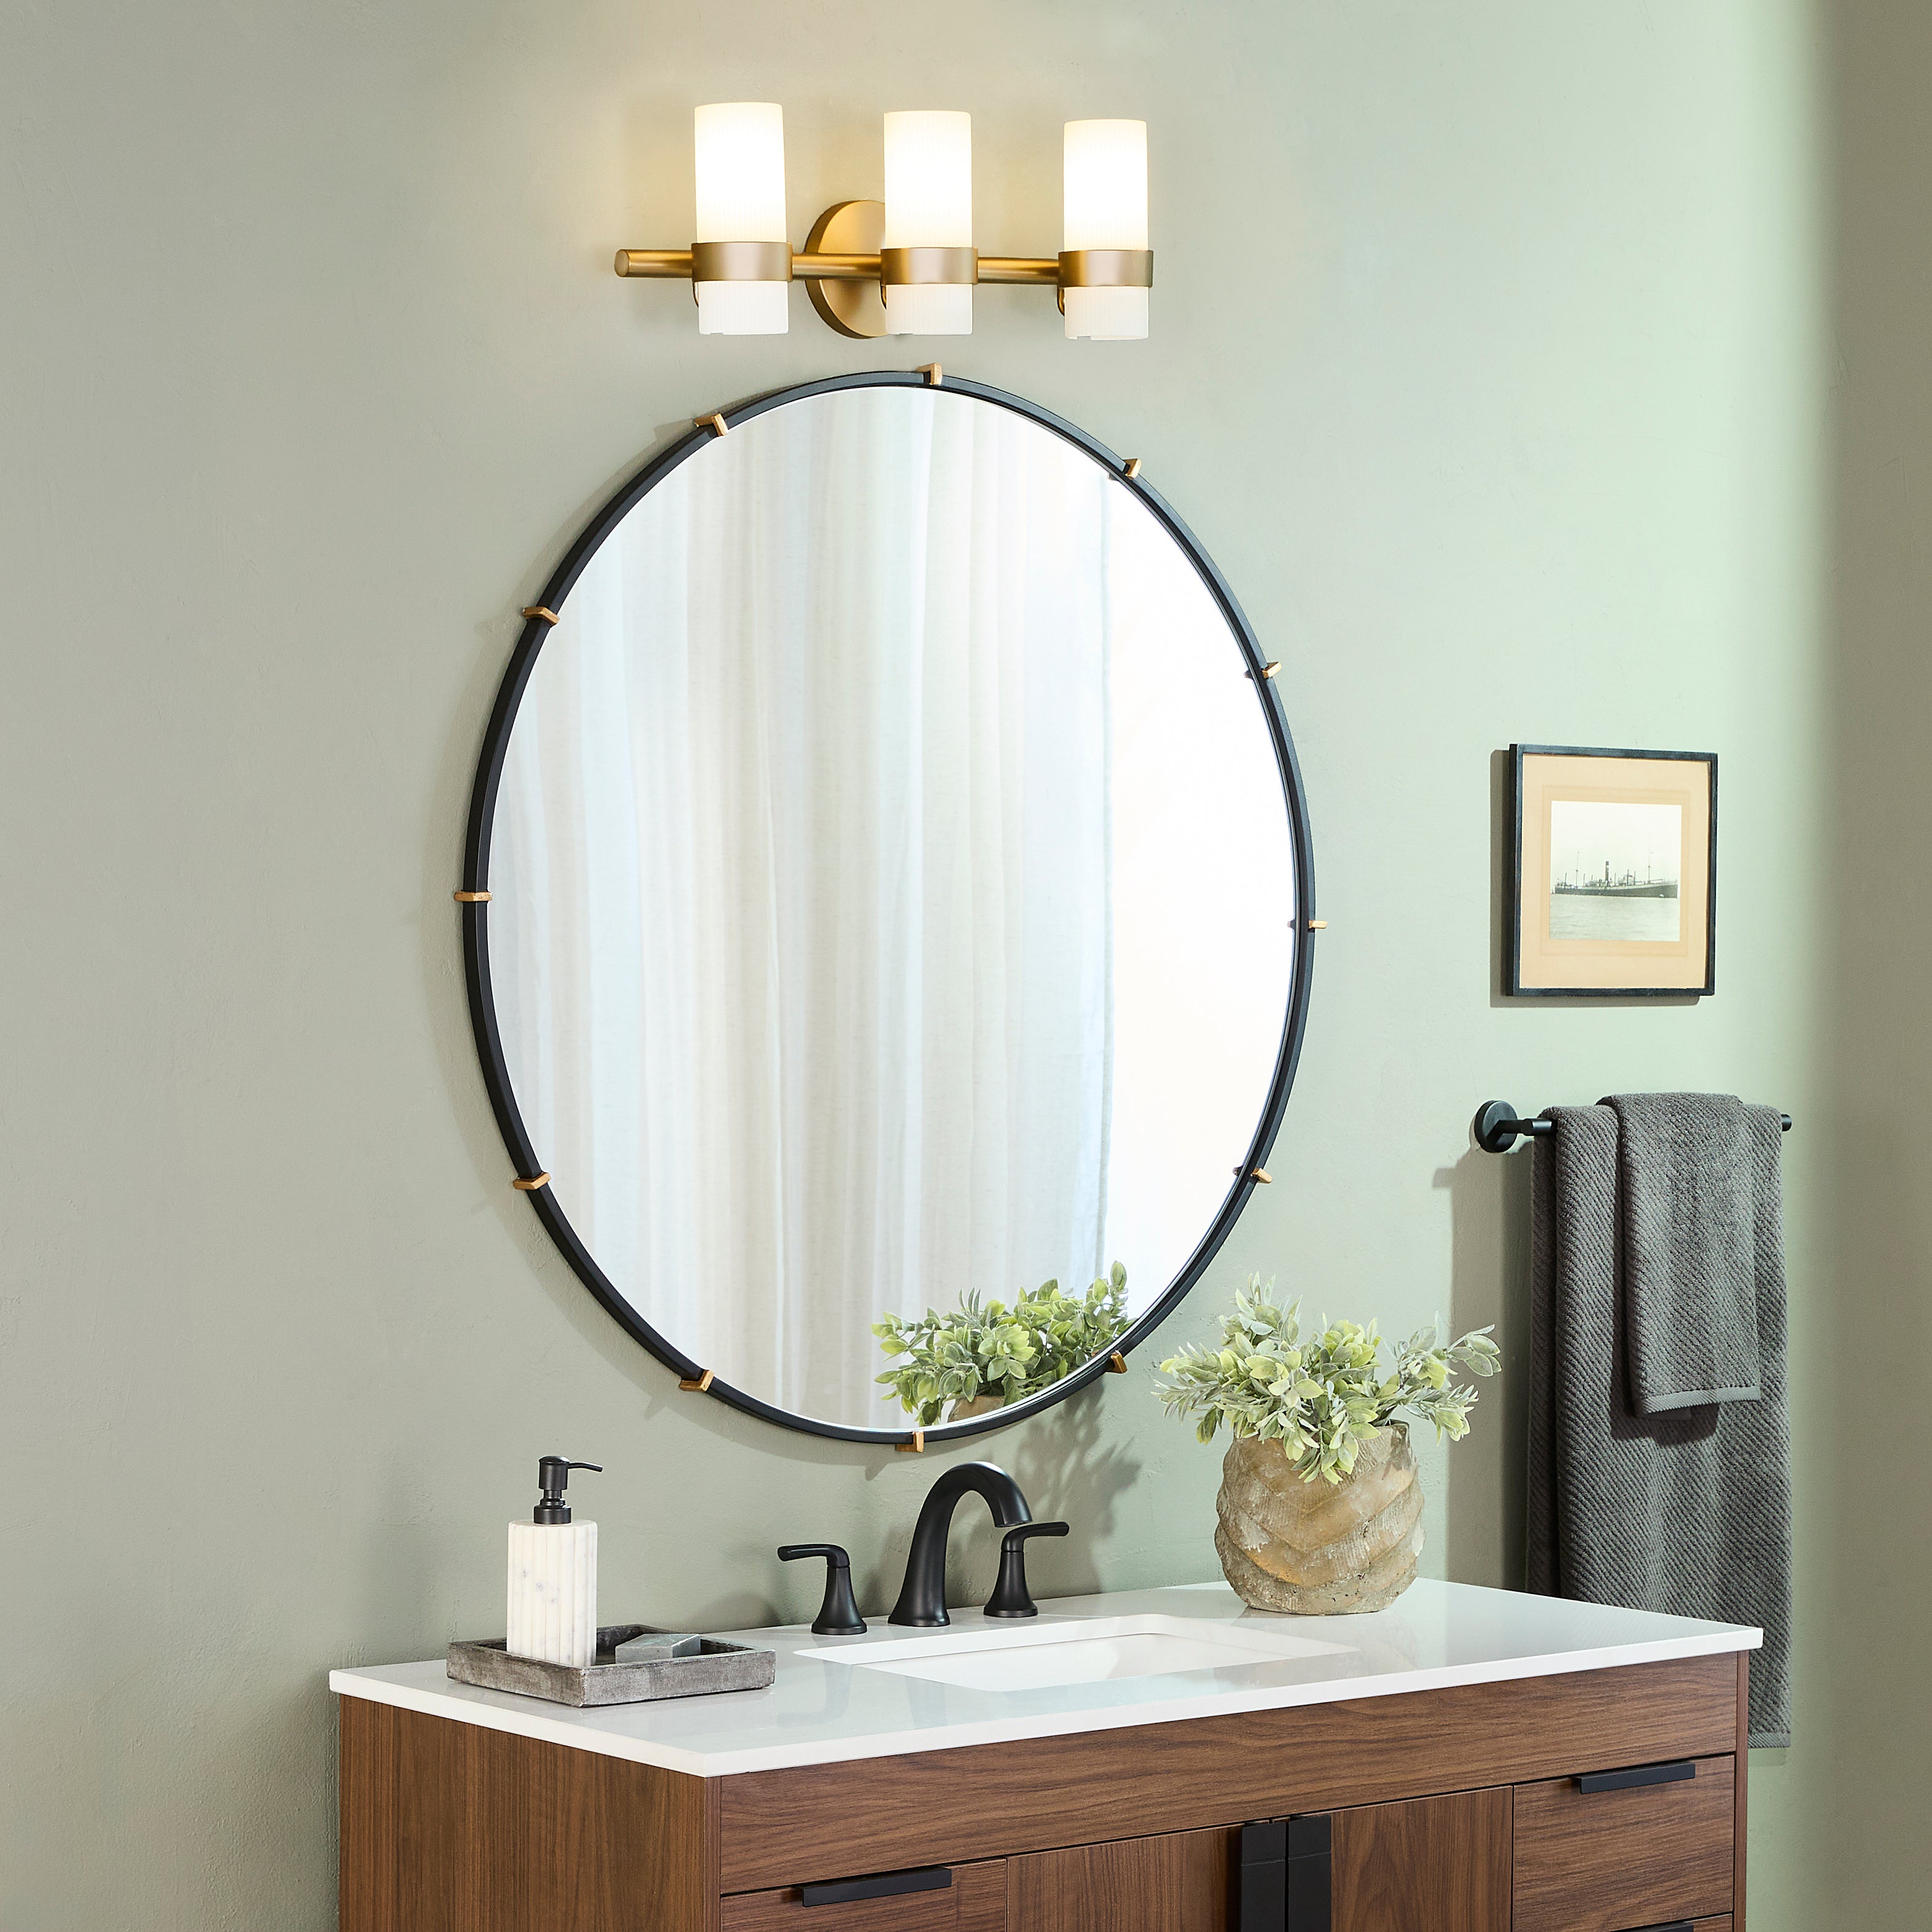
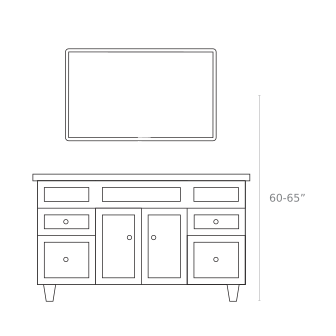
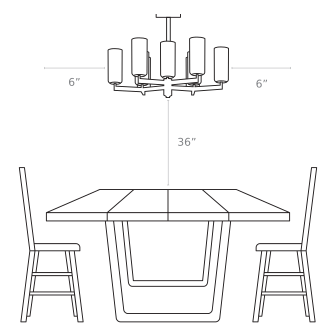
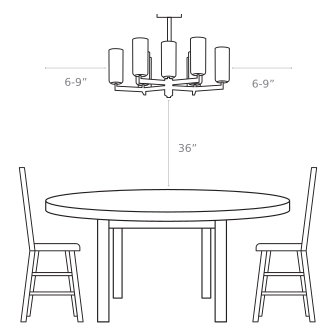
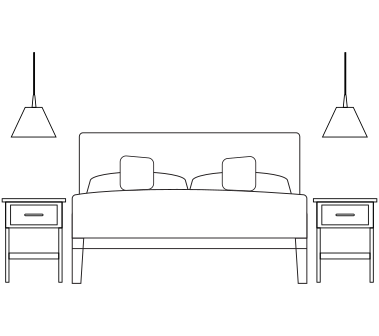
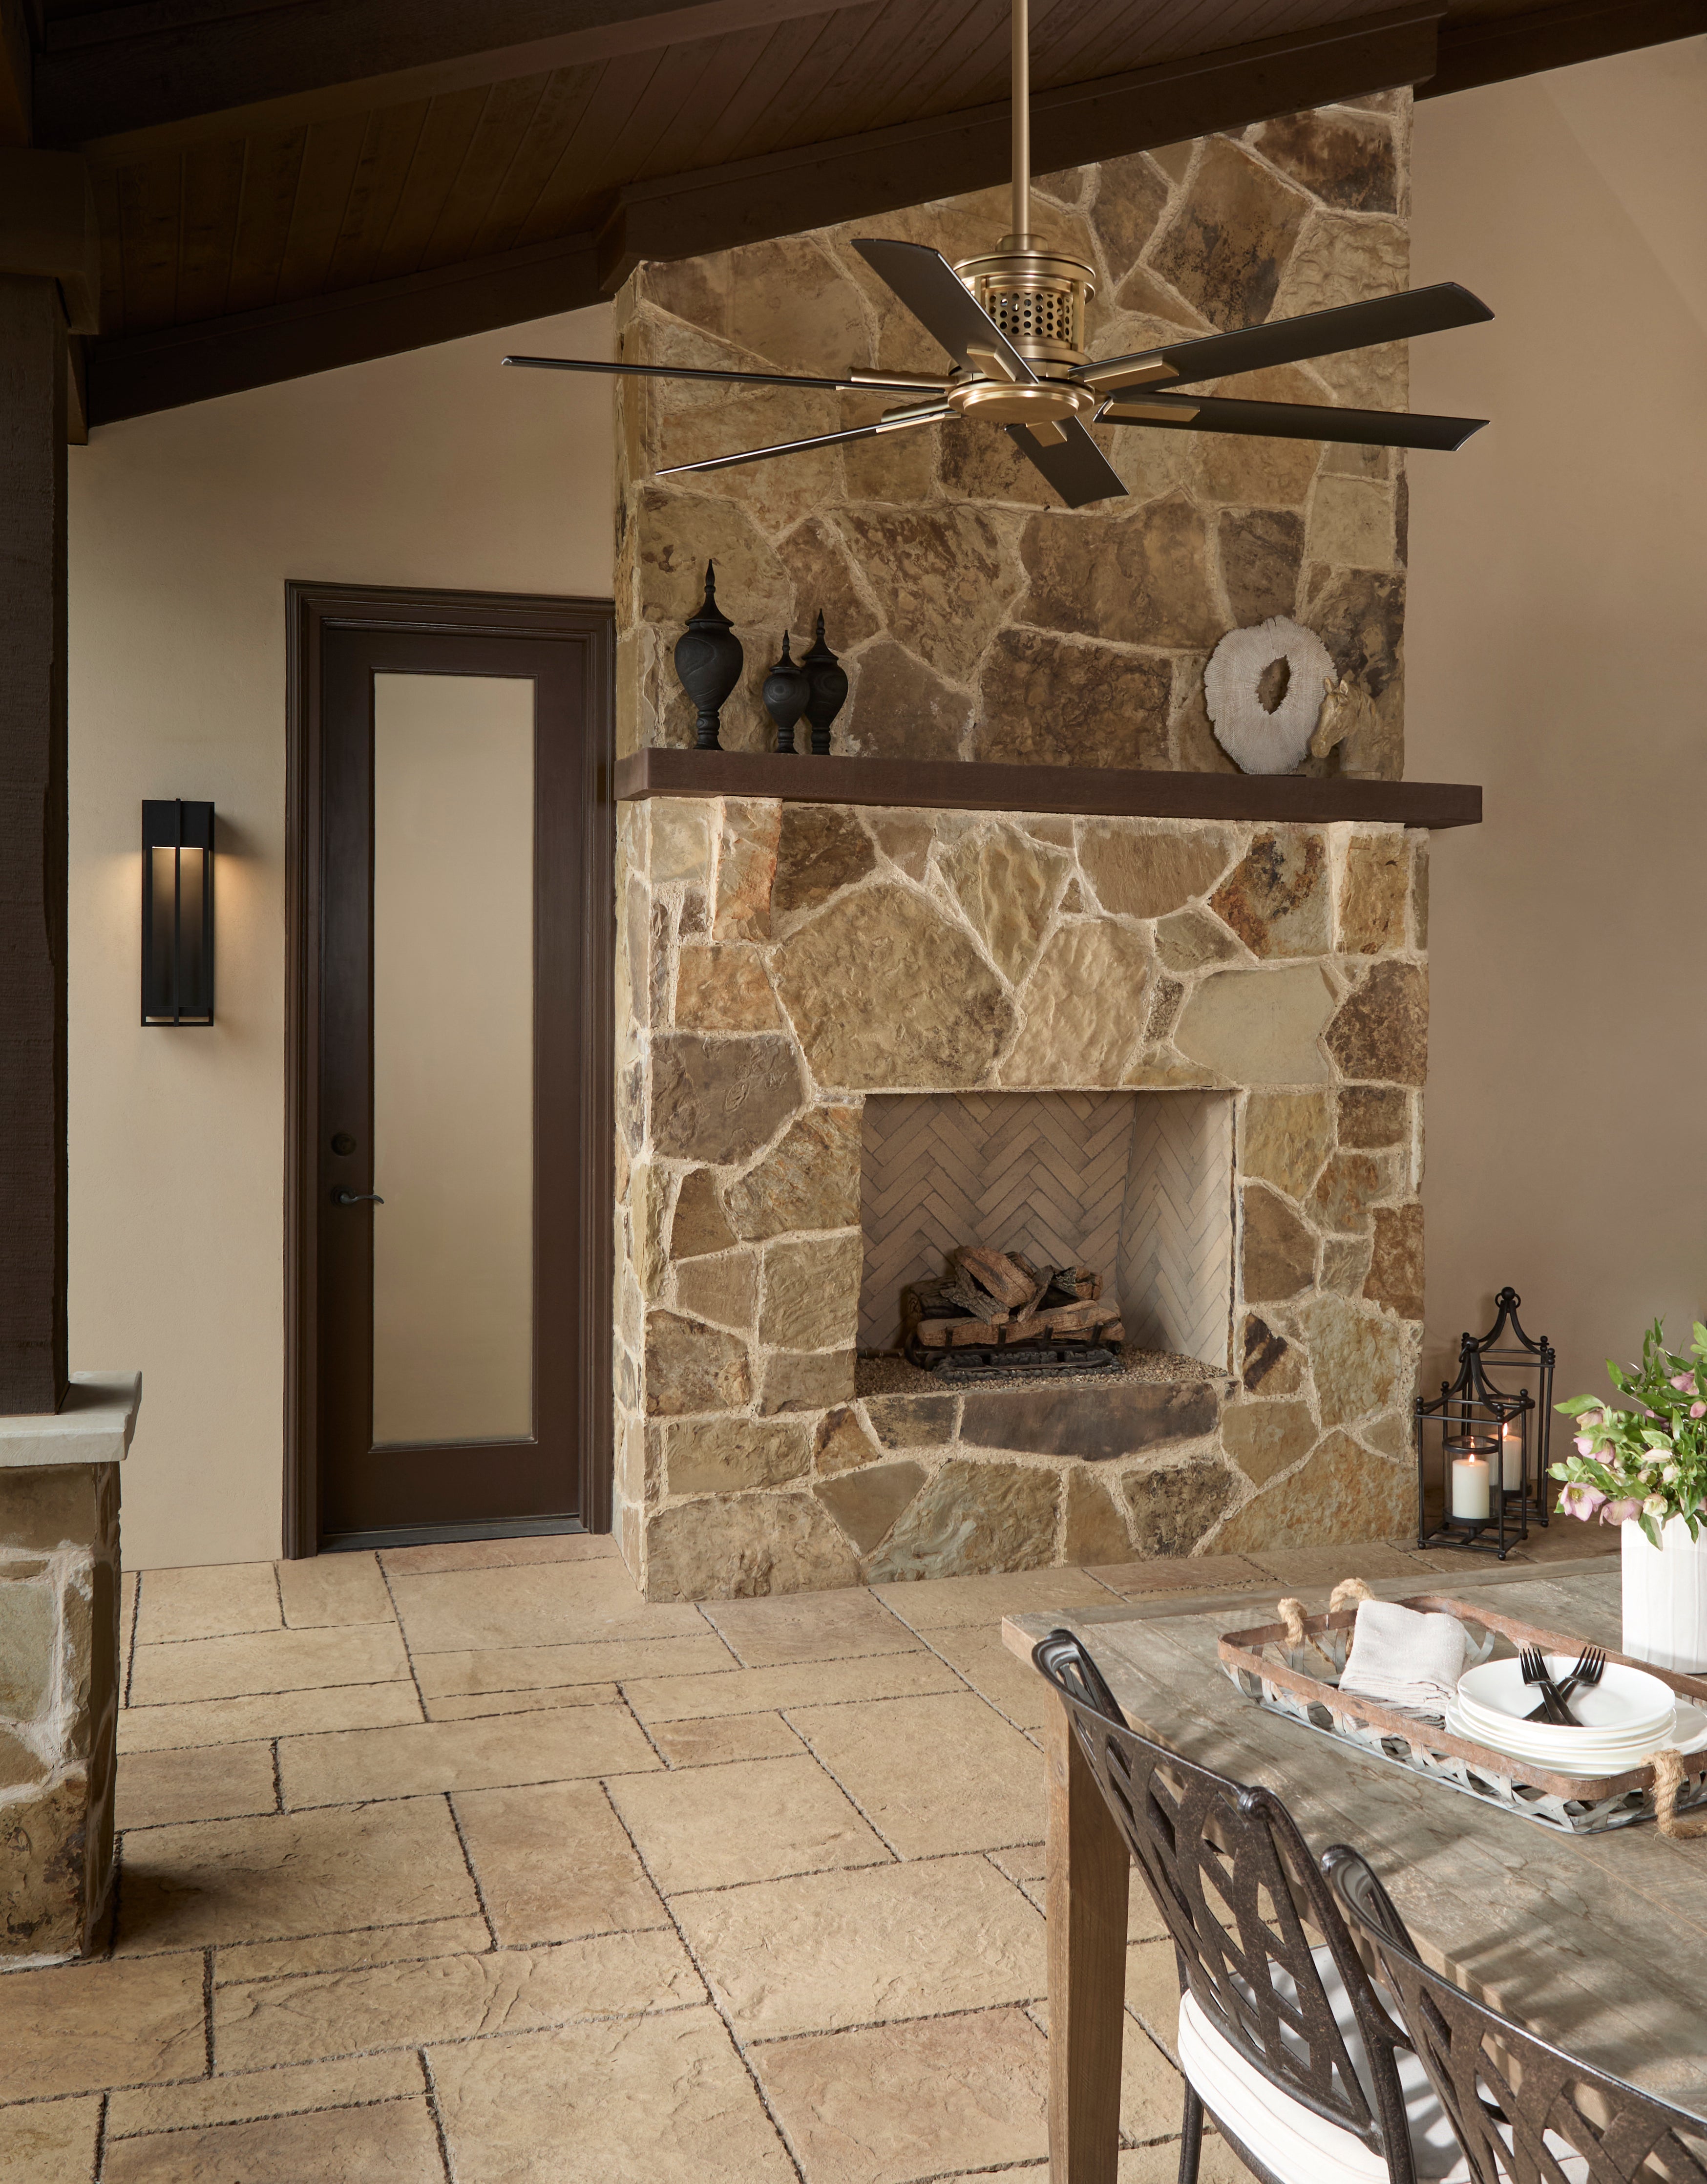
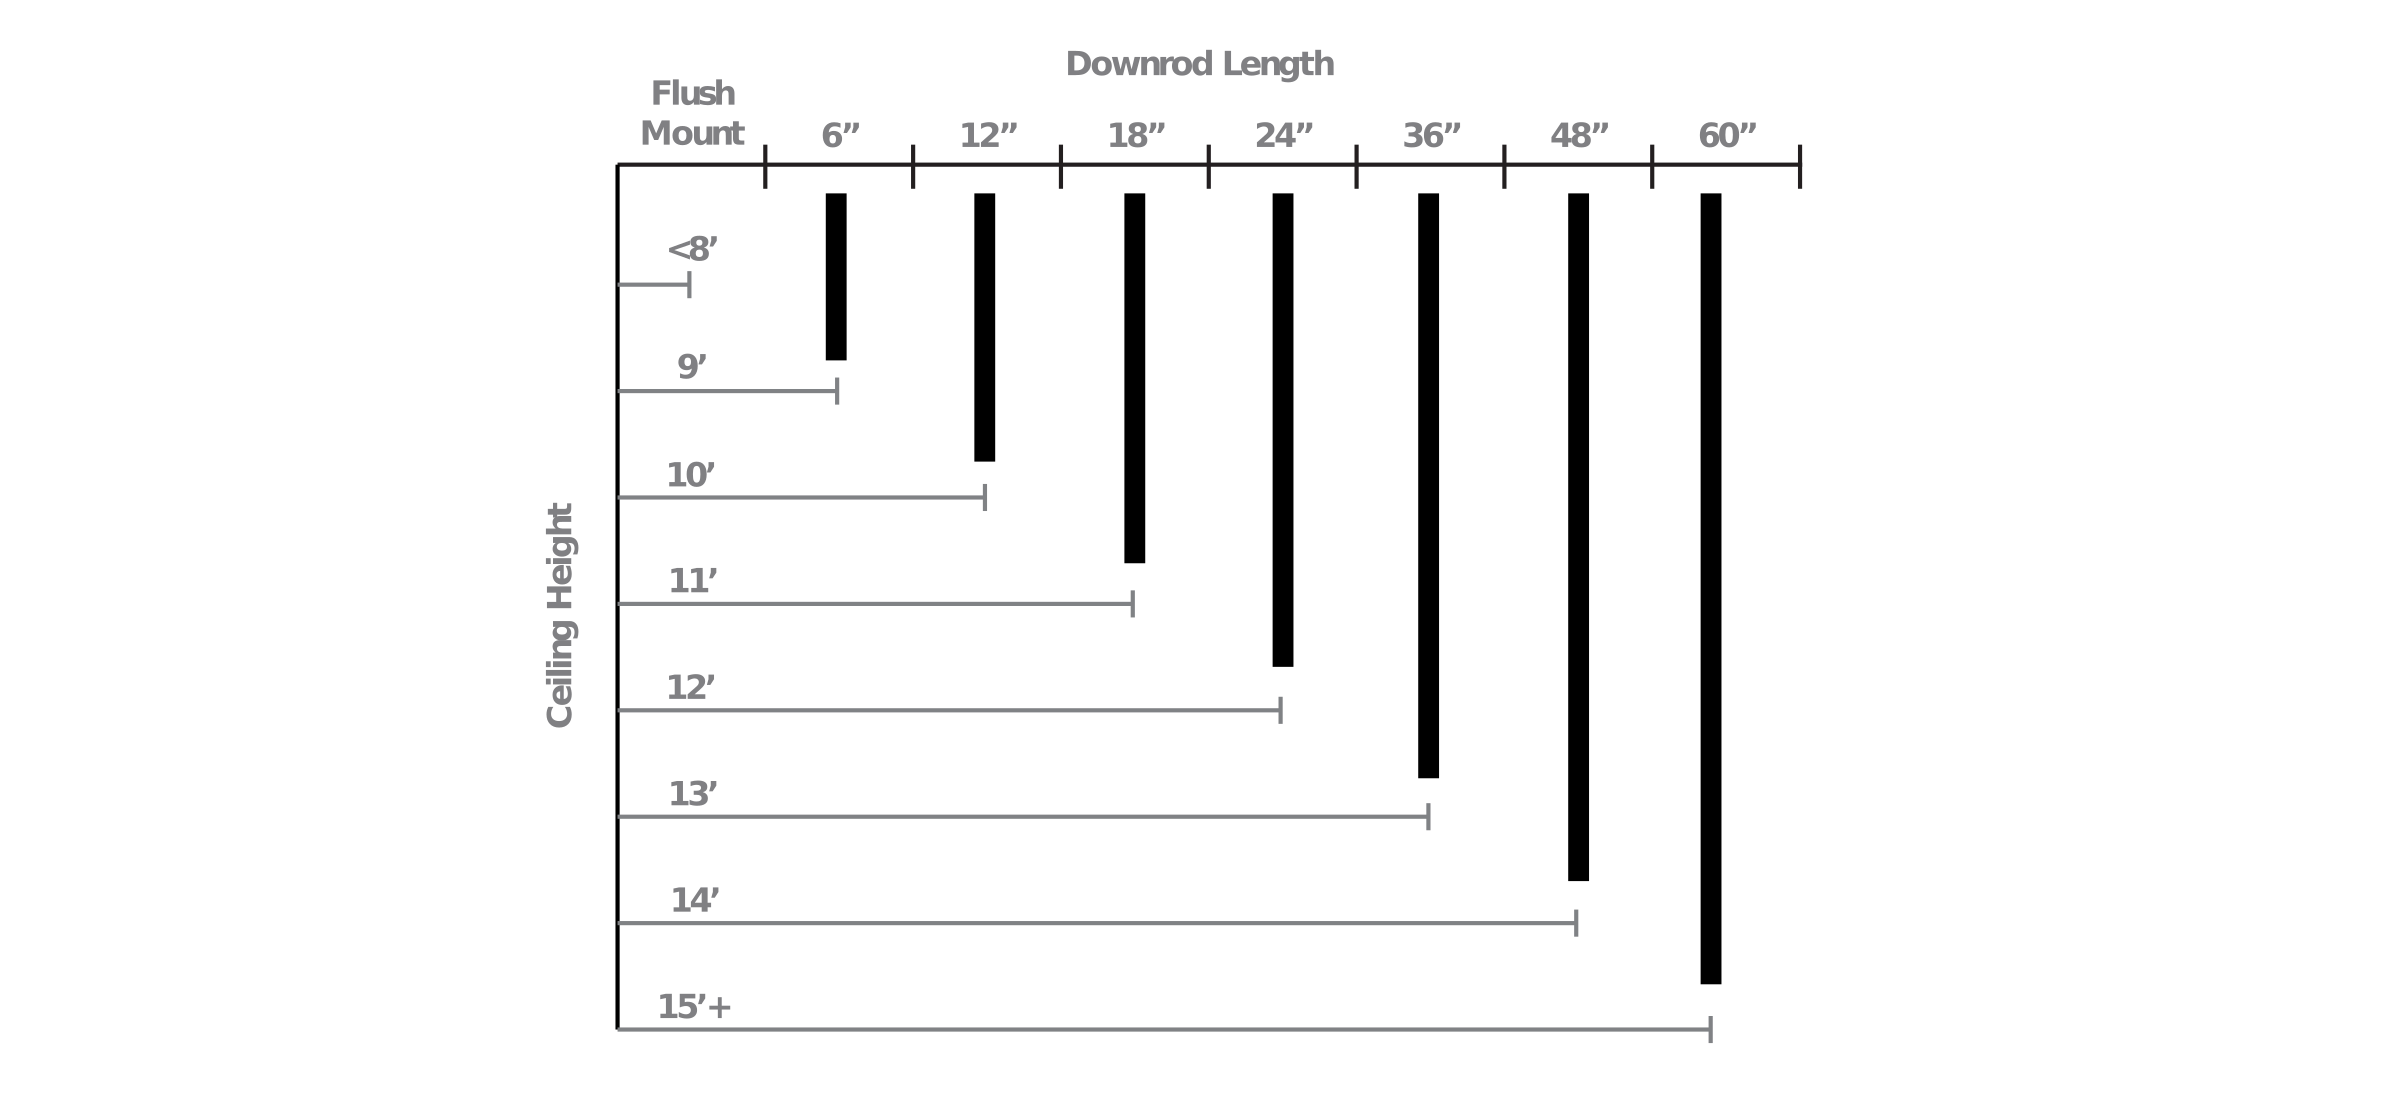
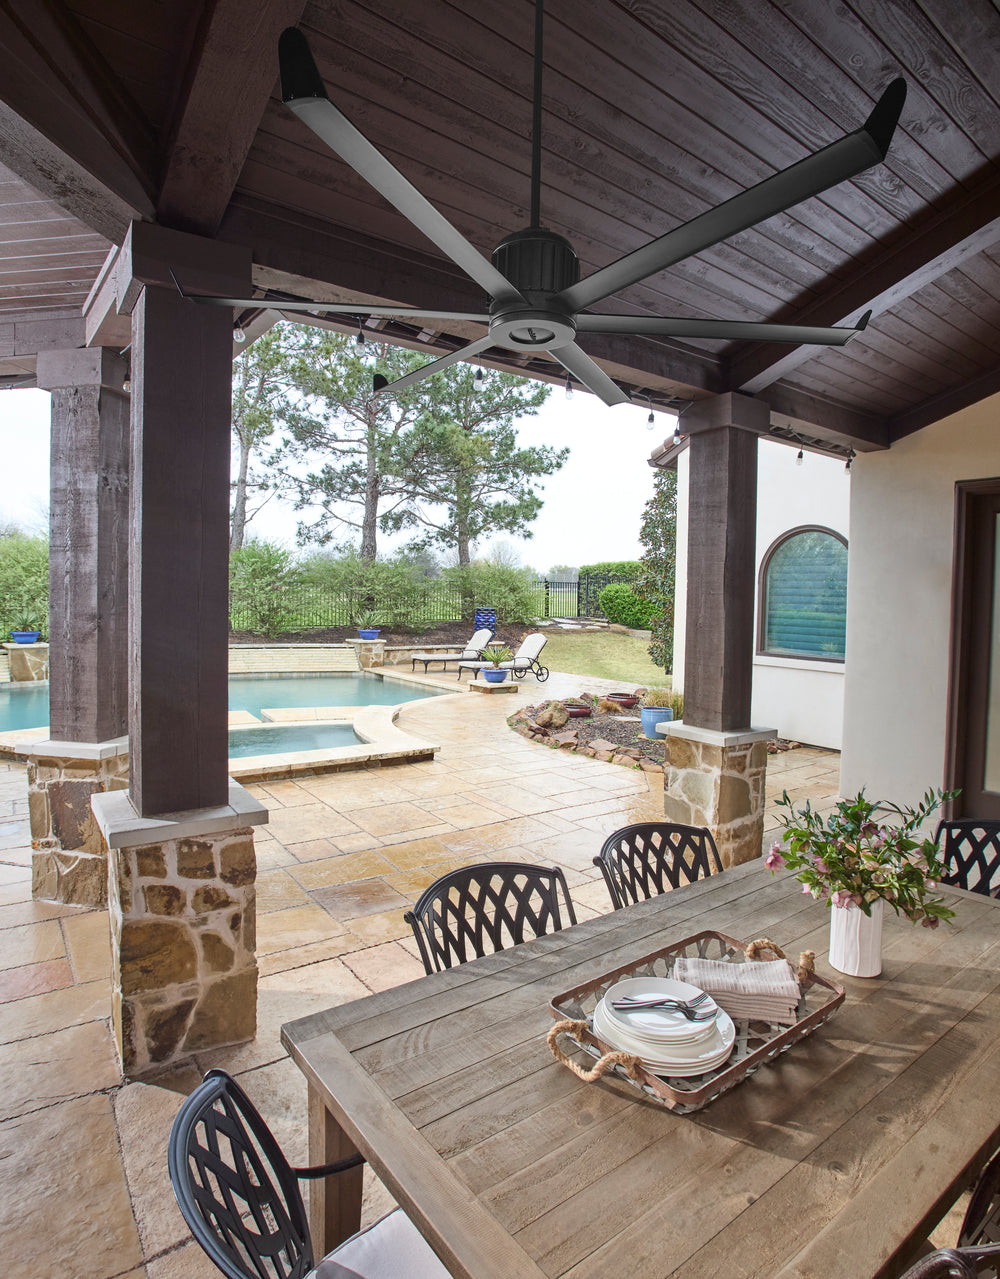
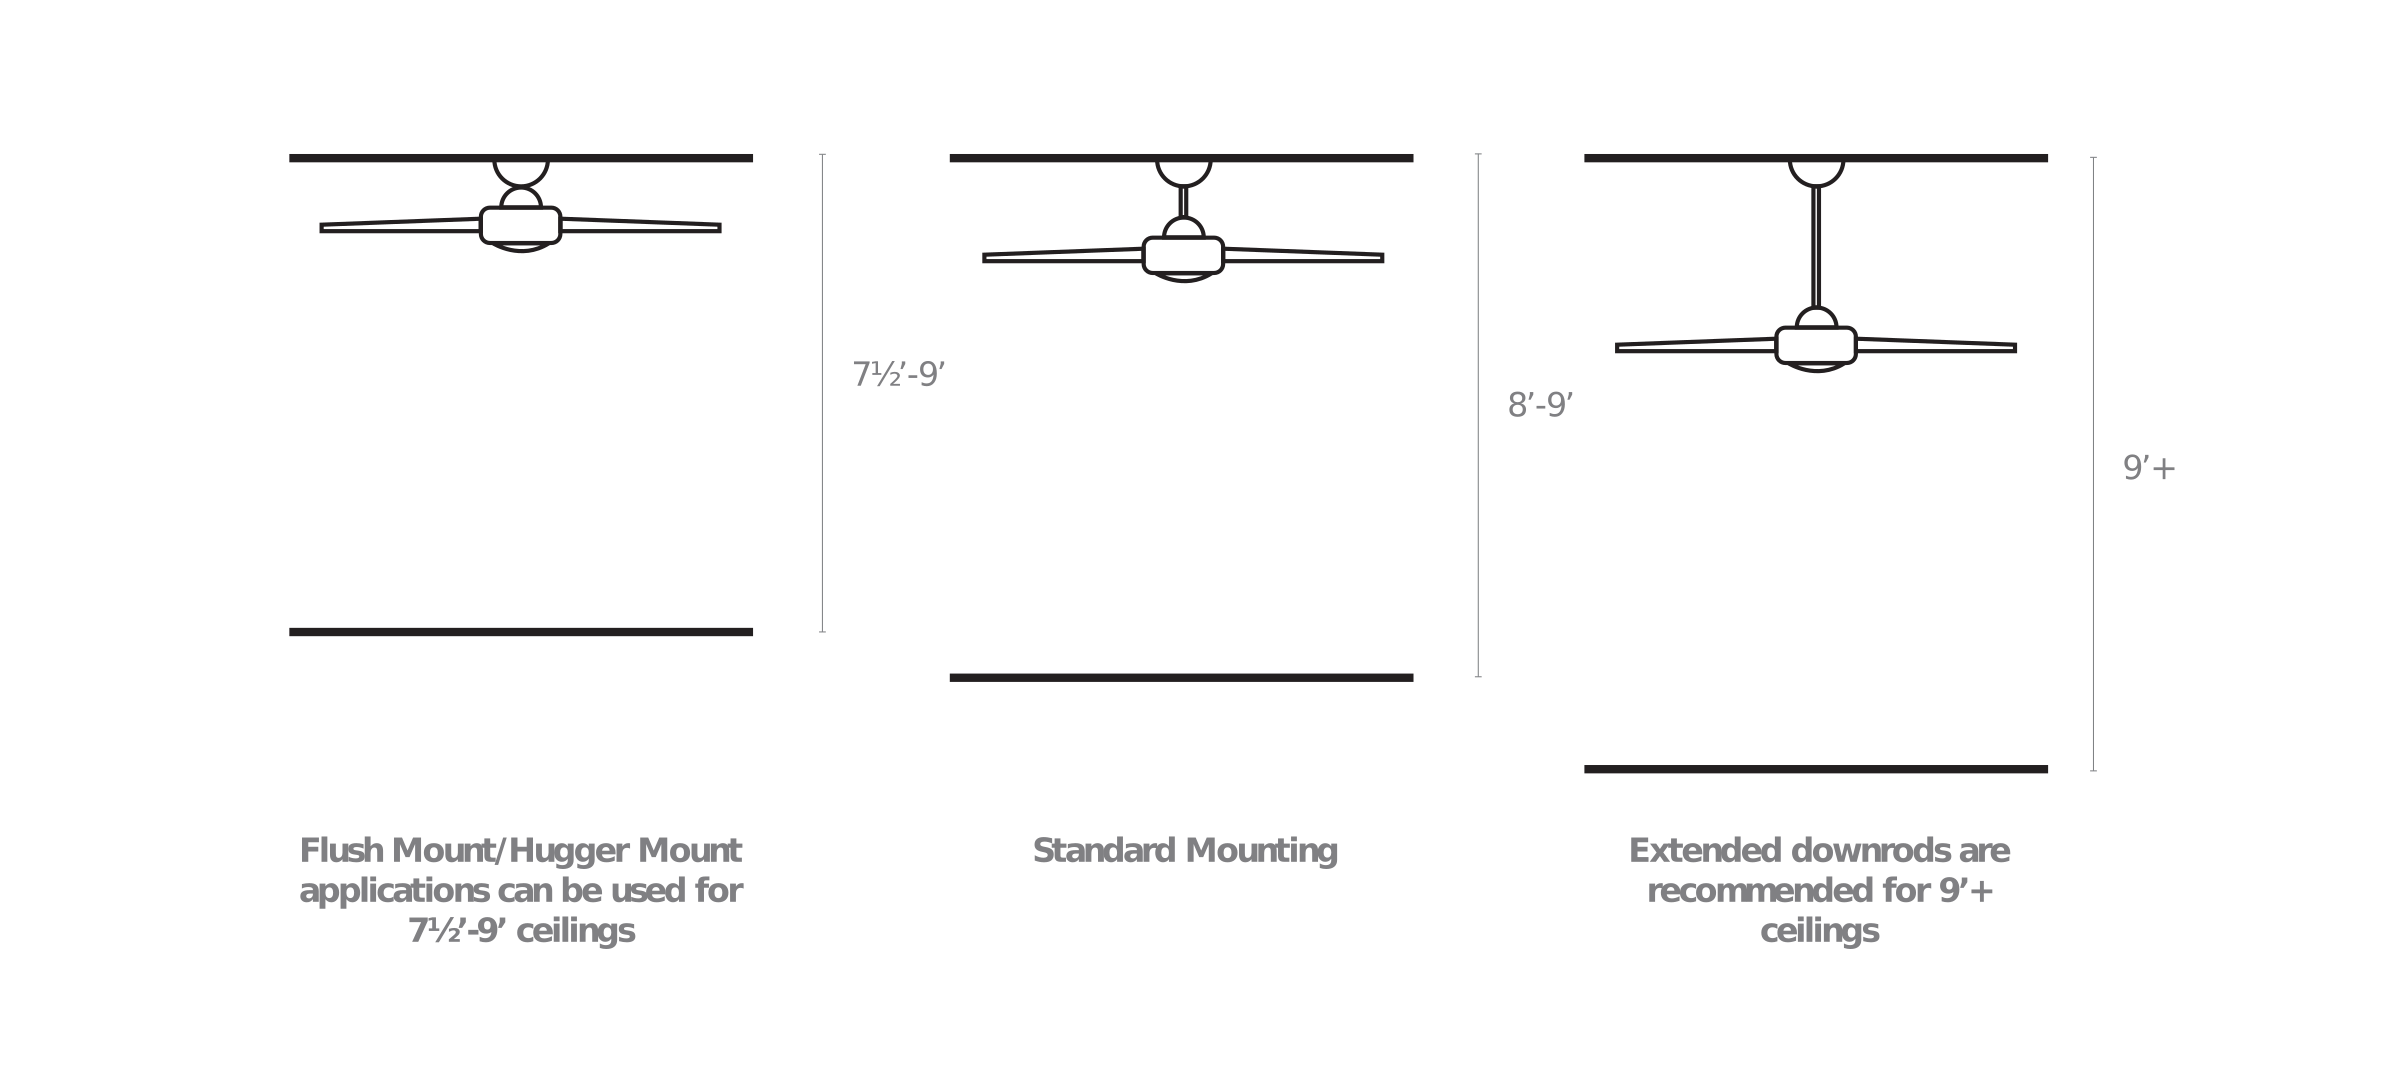
MIRROR & CEILING FAN GUIDE